We love sharing our favorite resources, books, classroom supplies and teacher stuff with you. When we do, we may earn money or products from the companies mentioned in this post. This does not affect our choices in what to recommend. Rest assured, we only recommend our favorite products to you! You can find our full advertising policy on the Partner With Elizabeth page.
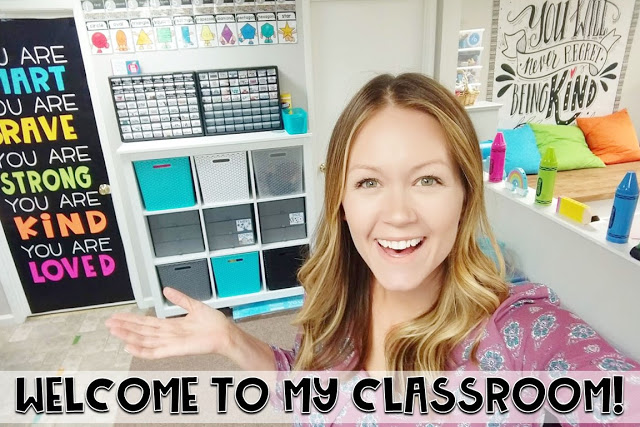
Yahooooo! It’s finally here! Many of you have asked on social media if I had posted my annual classroom tour – and now it is finally here! Just like you, I spend much of my summer thinking about what changes I want to make to make to how my class works, functions and feels. Then I put my blood, sweat and tears into making the classroom match that goal. I wish I could grab you by the hand and walk with you through my room, sharing the ideas, reasons and purposes behind my choices, some of the magical learning that is already happening, and a few of my favorite things. But a virtual hand grab will have to do. So come on – let’s get started!
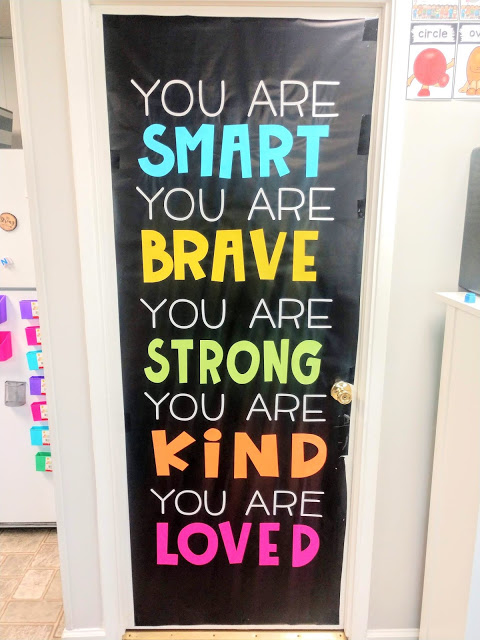
First, let’s start with one of my favorite new additions to my classroom. I am in {love} with this door (and so are my students)!
After watching a TedTalk from Rita Pierson titled Every Kid Needs a Champion I came up with the idea for this door. If you have not seen this TedTalk it is a must see! I was so inspired after watching it that I new I had to use the ideas from her talk in my classroom. So I pulled out my handy dandy Cricut and got busy. After cutting all the letters, I adhered them to this fadeless black paper from Hobby Lobby. Now this door is a centerpiece and focal point of our classroom. We even recite this every morning during carpet time.
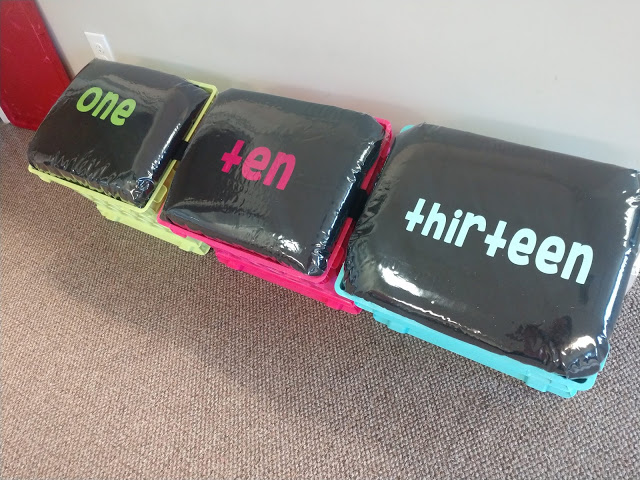
I also used my Circut on these new crate seats!
In addition to seating, we use them as storage too! This helps to cut down on the clutter in the classroom. We store sleeping bags in ours, however, you could store almost anything in them. I have a teacher friend who used her crate seats to store centers that were not being used. Having that hidden storage is so handy!
A Quick Look at the Walls!
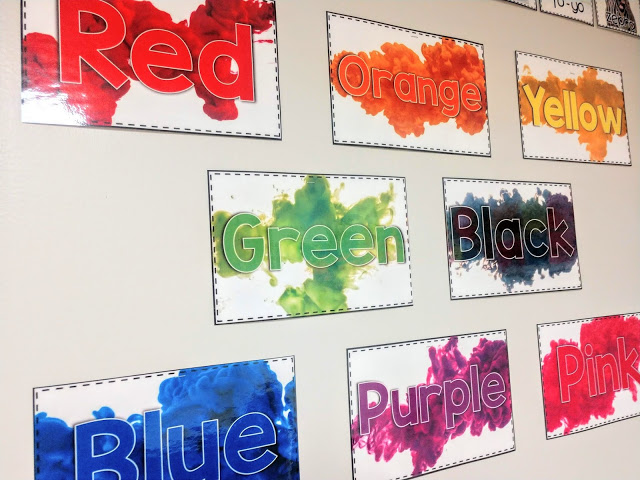
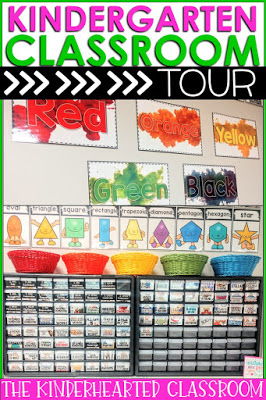
Next up is the Color Wall! I love the vibrant colors and real pictures in these color posters.
These color posters are part of the Real Life Pictures classroom decor sets I have put together. I love the whimsical feel of the colored smoke but there are some great real life examples (flowers, fruit, paint) options available too!
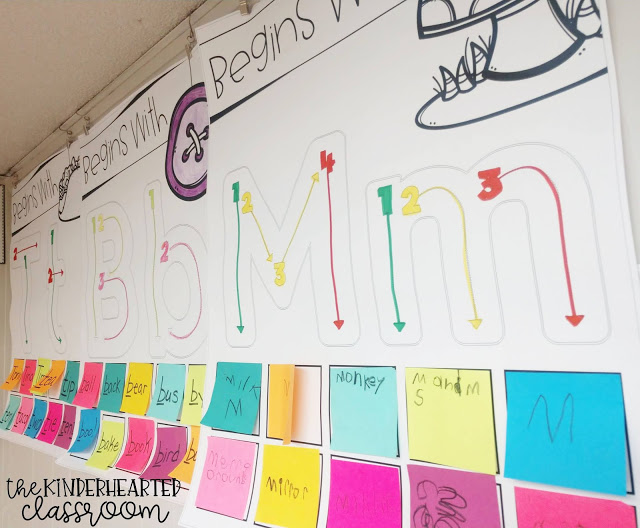
As you glance around the room you will also see many of our anchor charts. I am a huge believer in filling the wall space with learning tools and reminders of our lessons. I teach my students that these are tools they can use as they complete their work. I always have a dedicated space for our interactive anchor charts.
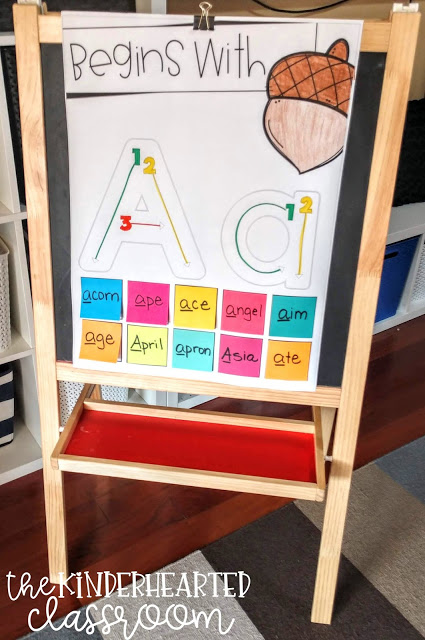
These alphabet anchor charts help my students with letter names, sounds and handwriting. Throughout the year we will use other interactive anchor charts on different skills and concepts. If you’d like to learn more about the Interactive Anchor Charts, check out this blog post! This post gives you all the details on the printable, interactive anchor charts and how I use them.
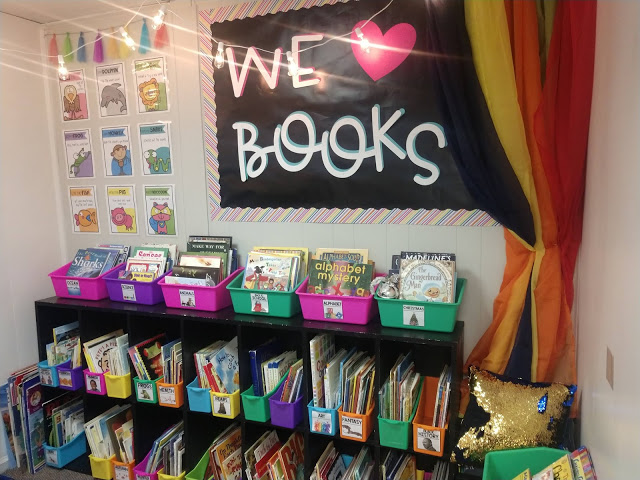
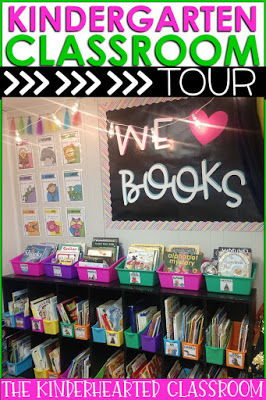
As you work your around the room you will see the new classroom reading area that I set-up. I am so excited to finally have a dedicated space in the classroom to help my students fall in love with reading.
I organized all the books and put them in bins, each with a label on the front that describes the types of books in that bin. Each book has a matching sticker on the front that allows the students to return the book to its rightful bin. Setting up a system of organization and teaching the students how to use it is really empowering for them (not to mention time-saving for me).
As of the writing of this post, I have not yet opened the reading area to the students. I model how to use the library by pulling books from there that we read together. I show them how to treat books and how to put them away in the right space. I generally wait until after Thanksgiving when I know the students have a good foundation of our class rules, respect for our classroom, and are learning how to treat books, before allowing them to use the space independently.
Keep working your away round the walls of the room and you will run into our stage!
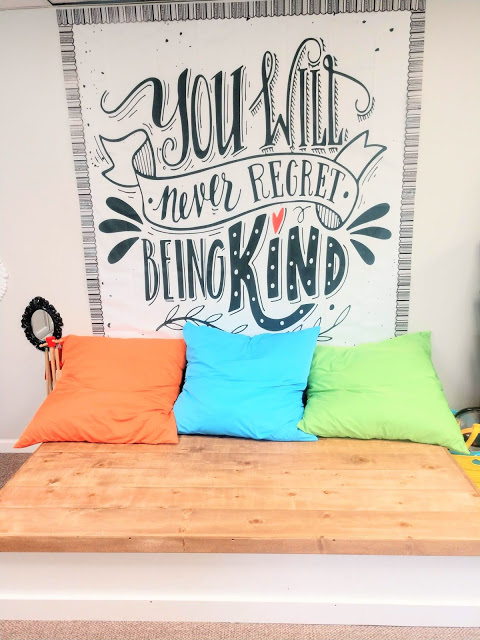
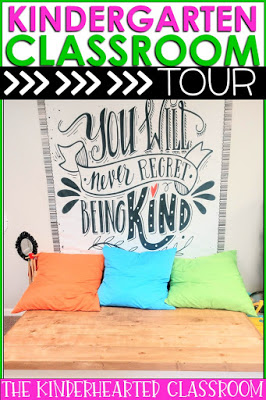
This is one of my favorite areas and a cherished part of our flexible seating options. To learn more about how I use flexible seating, check out this video! This stage was built for me by a friend and it’s got a secret. Shhhhhhhh! There’s more hidden storage underneath! I use the storage for games, centers and extra supplies. One of my favorite parts is the backdrop. This fabulous quote is actually on a shower curtain! Thank you Amazon! I used border to frame it out and finish it off.
You can’t keep following the walls of the room without running into my small group teaching table! Let me tell you – this is one popular place throughout the day. My goal is to do small group instruction with each student a minimum of 30 minutes a day, and that means this table gets lots of use. I purchased this U-shaped table off Amazon and it has been one of my favorite additions to the room.
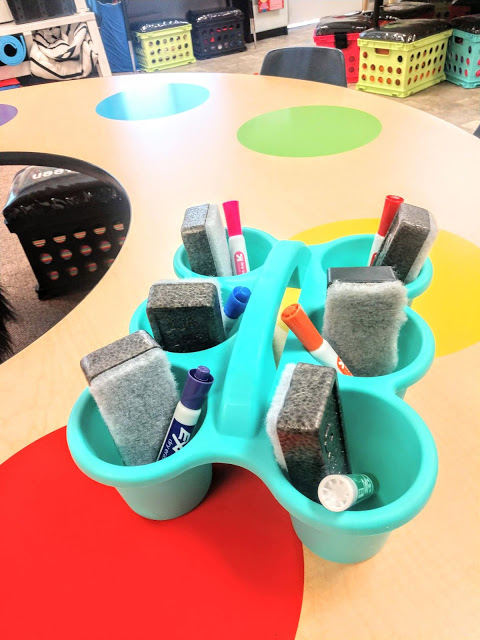
I added a little extra punch of color to my table with these vinyl circles. Not only does this help define space (hello – I teach 5 year olds) but they can also be used as a dry erase writing space! This table comfortably seats 7 students at one time with me in the middle of the ‘U’. It’s so easy to see everyone and work with them 1-on-1, too! This close knit space has also been a key part of developing those important student relationships at the beginning of the year.
This caddy is just perfect for holding out dry erase writing supplies. Each student uses the dry erase marker that matches the color of their circle. Their writing is still visible but it helps to cut down on stains and keeps the table looking great! It also helps eliminate any “discussions” about who gets what color! 😁
Keep moving around the room and you will visit Tinker Town! This is a specially designed area for “tinkering.” It’s a dedicated space for all things building related (LEGO’s, Lincoln Logs and more)!
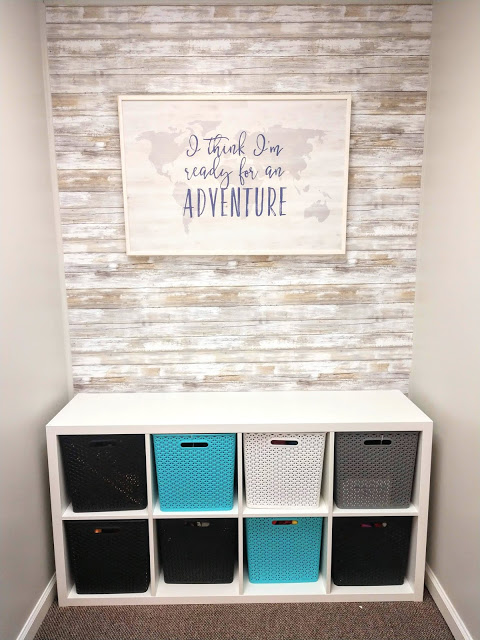
Ok – so let’s just say this little space is a good lesson in don’t judge a book by its cover. No, there isn’t reclaimed shiplap on the walls of my classroom. But oh, wouldn’t that be fun! Actually, this is really just removable shiplap wallpaper from Amazon! Yep – easy peasy and removable too!
Second to Amazon is my love for IKEA and Target. Both of which helped create this space in my classroom. The bookshelf if KALLAX from IKEA. They are the perfect size for baskets and bins and help keep everything looking neat and organized. I found the bins at Target. I won’t tell how many different Targets I had to visit just to get the colors I wanted. 😉 (It may or may not have been at least 3!) I finished off this space with the artwork from Hobby Lobby. I hope you have a Hobby Lobby in your area. This is one of my personal happy places!
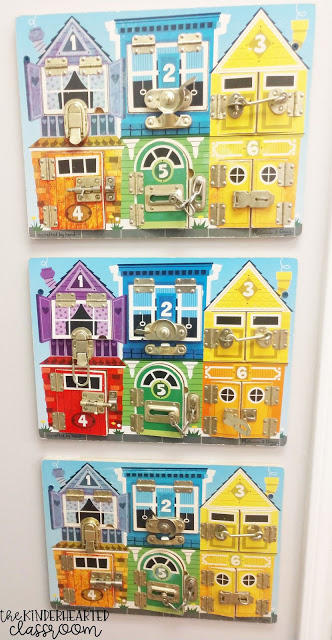
Also, part of Tinker Town, on a connecting wall, are these super fun Melissa and Doug lock boards!
Not only is there some excellent fine motor practice here, but the students practice counting the numbered houses and developing new vocabulary and sentences by looking inside each of the doors after opening them. I just screwed these boards right into the wall.
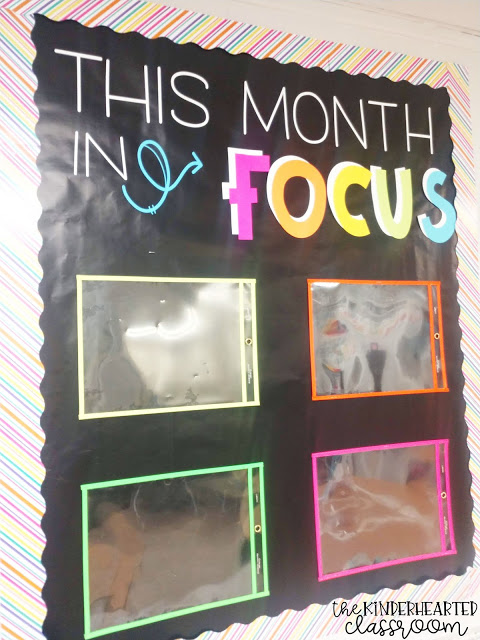
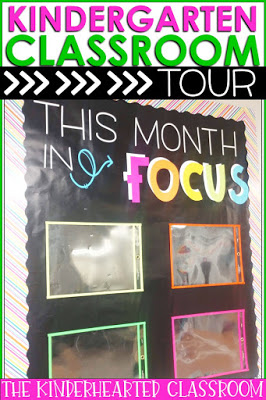
Last up is our Focus Wall!
This is a special place designed to post our monthly focus in each of our core teaching areas. On this board I used clear pocket sleeves to make this an easy to use and easy to change out board. I just print out our focus areas and slide them in. (Did I tell you how much I hate removing staples?!?)
There’s more!
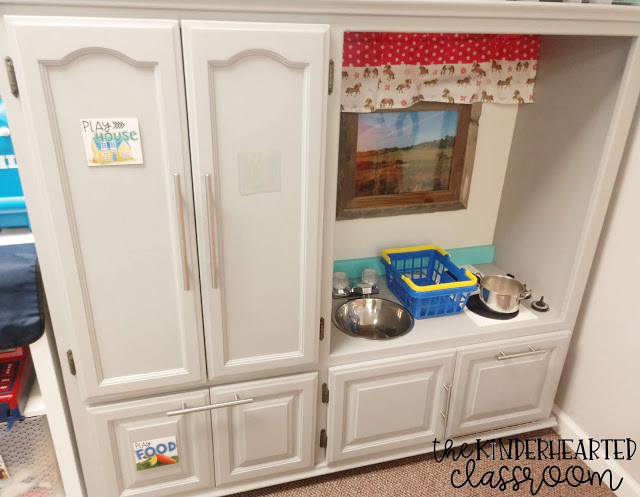
I snagged this beauty off of Facebook Marketplace from a lady that made it for her granddaughter. That amazing view out the window is actually a picture of her granddaughter riding a horse. So cute! I’ve used the toy labels to help keep this space organized.
Whole Group Learning Spaces
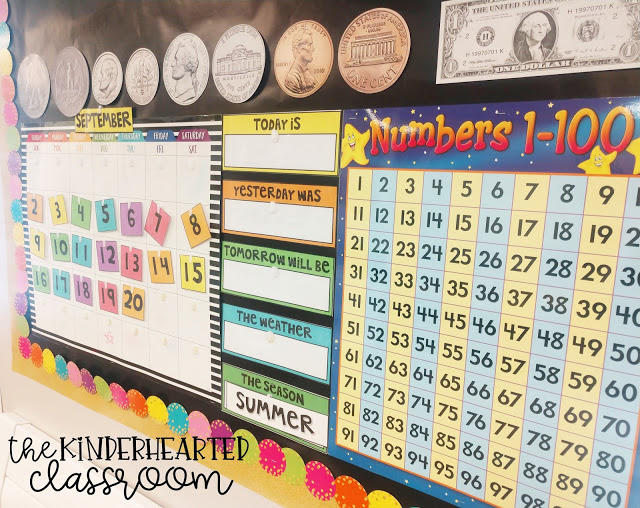
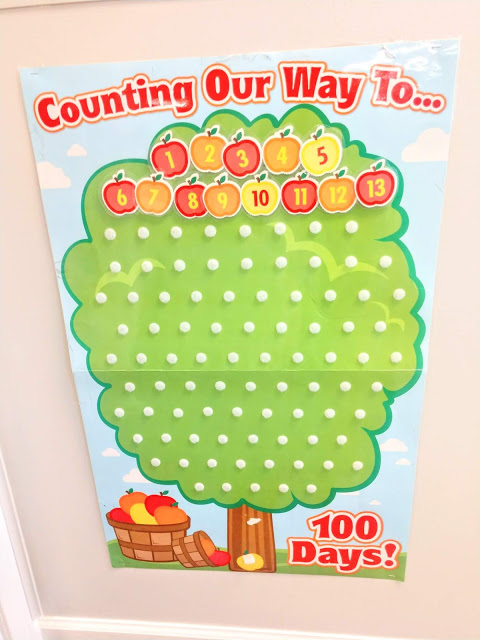
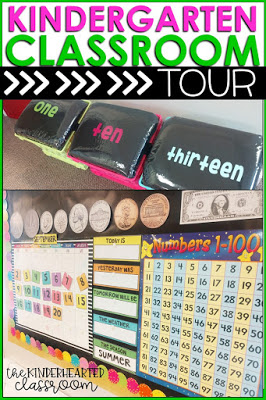
Here we review our days of the week, months of the year, seasons, weather and so much more. We build our monthly calendar day by day and we learn about money too. And don’t forget about counting and singing to one hundred! In addition to the hundred chart, we also add an apple to our tree each day until we reach the 100th Day of School.
In my classroom each student has a job. Many of the jobs coordinate to our calendar time, allowing the students to be more engaged and interactive with the learning. Students will take turning adding numbers to the tree or calendar or pointing to different things in the calendar area.
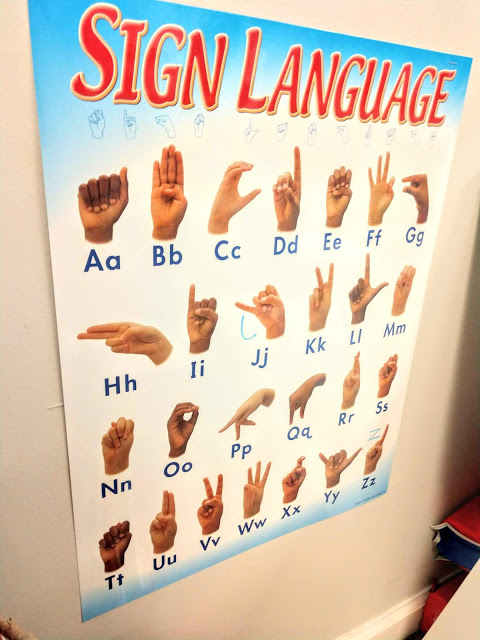
We also review our alphabet during carpet time and my students love learning the sign language alphabet too. This is a great muti-sensory way to help those visual and kinesthetic learners with their letters.
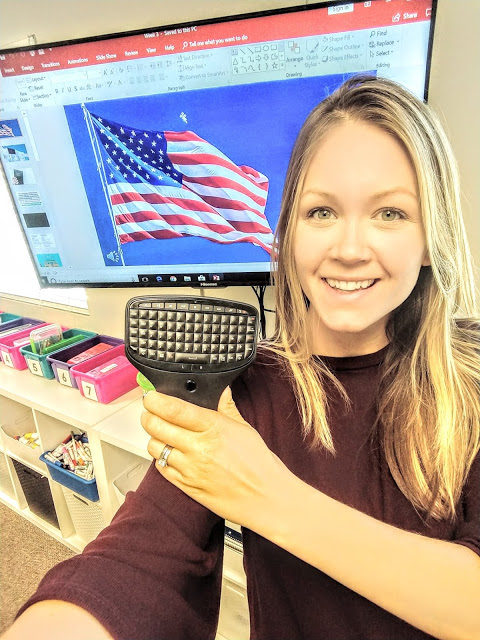
As part of calendar and carpet time I am always using power point on the computer which I have connected to the TV in my classroom. Unfortunately I don’t have a smart board or white board – so we do what we can to make it work. One of my absolute must-have tools is this AMAZING wireless mouse and keyboard. All in one my friends – All-In-One!!!
From anywhere in my classroom, I can control my teaching board. That means at any given time I can change a slide, play a song, play a video, and so much more. It definitely helps me to be able to teach from anywhere and not have to be front and center all the time. I love giving up that spot to allow my students to be more engaged and interactive.
One more must-have in our whole group learning area is my easel.
I use this daily with our interactive anchor charts that you saw earlier. Before taking their place on the wall, these anchor charts are an integral part of our whole group lessons. Having this easel allows the anchor chart to be displayed at the perfect height for my little learners. It allows them to take part in adding sticky notes to the charts, or tracing the letter formation.
Classroom Management Items
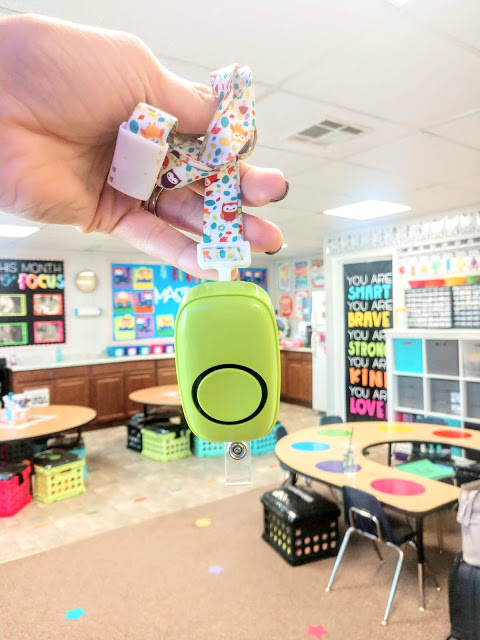
my doorbell! If you’ve ever used one in your classroom you are probably high-giving me right now. 🙌 If not, you are probably wondering what the big deal is. This wireless doorbell is used as a sound trigger to get my students’ attention. Gone are the days of the teacher raising their voice over the beautiful sound of active learning. From day one, I train my students to listen for the doorbell. (This particular model has many different sounds and chimes). The sound gets their attention even where there is lots of chatter and working. After hearing the doorbell, they get quiet and then I talk. I use this at least 25 times a day, if not more! We use it for every single transition and it is truly magical how well it works. If you’ve never tried using one in your classroom I highly recommend it!
I hot glued my doorbell button to a lanyard and now I have it with me everywhere I go. The day I accidentally left it at home on a Monday – required a quick trip home at lunch to pick it up. That’s how much we use it!
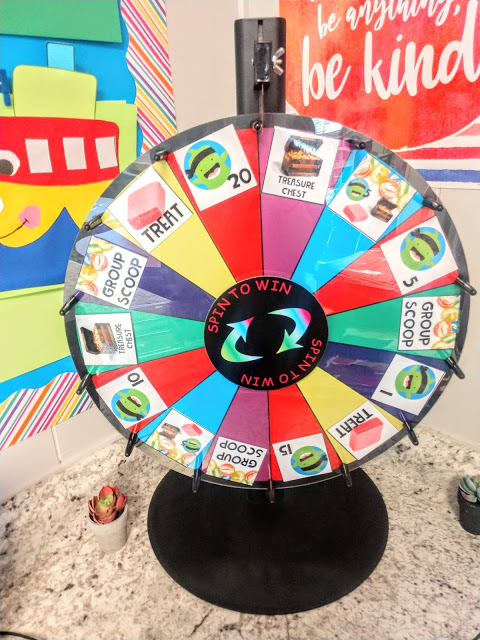
Another classroom management gem is our Incentive Wheel! The incentive wheel includes a variety of class rewards that I use. The students love the anticipation of spinning the wheel to see what the reward will be.
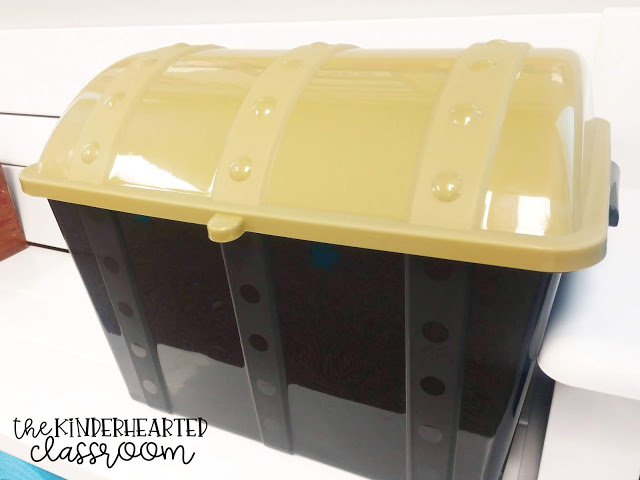
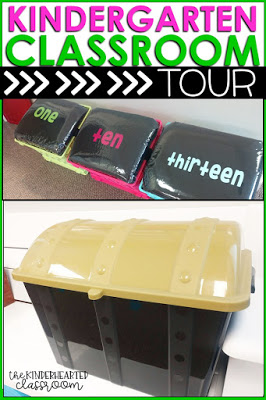
Some of the favorite rewards include Class Dojo points, Group Scoop (a scoop of marbles added to a group’s marble jar – a full jar means a group reward), and trips to the treasure chest. The treasure chest is filled with trinkets and small toys.
In our class we use a clip chart. The goal is for the student’s to stay on the green card with a star. This signals they have had no color changes during the day and star behavior. At the end of the day, if the student has stayed on the star, then they get to pick a treat from the treasure chest. This is a class favorite and a great motivator for good behavior choices.
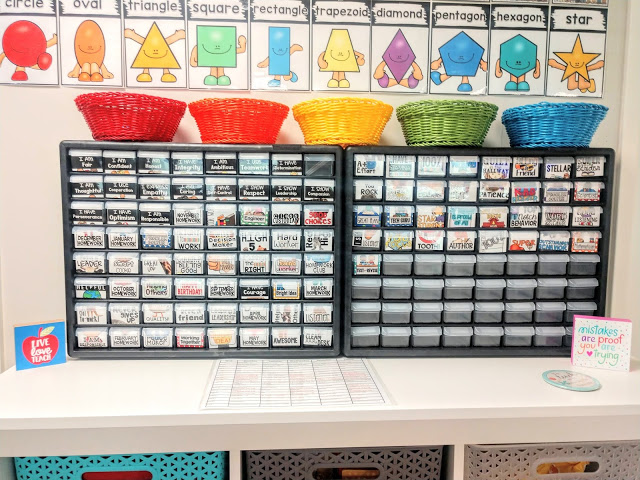
The last part of my classroom management system is Brag Tags! Brag tags are small paper tags that students can earn for a variety of things. I have brag tags for everything from being a good friend, to writing well. These little incentives get strung on a necklace for students to wear. Every Friday, I let me students wear and ‘brag’ to their friends at carpet time on describe how they earned their brag tags. I also let them wear their brag tags on special events, like Grandparent’s Day. I will refer to the necklaces during the event and ask the students to explain how they earned their brag tags. These have been an invaluable tool for peer teaching and modeling on all types of behavior and activities.
I store all of the brag tags in these in hardware organization boxes. The small boxes fit the tags just perfectly. The labels on each drawer make them easy to see and find when giving out brag tags.
Classroom Organization
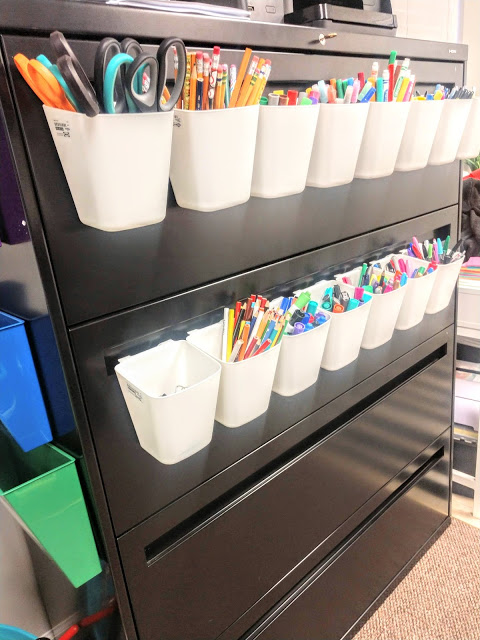
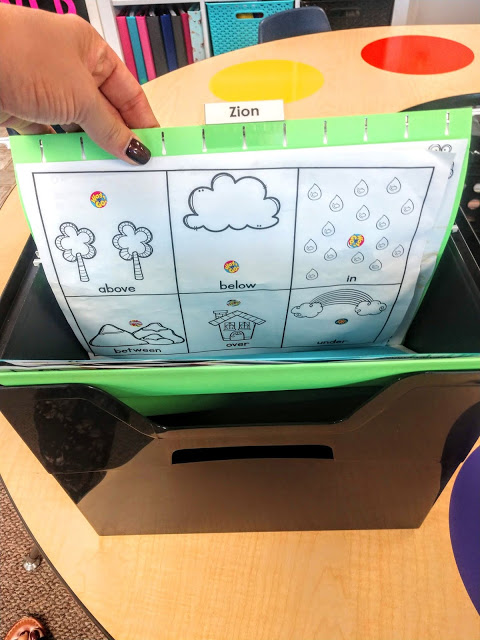
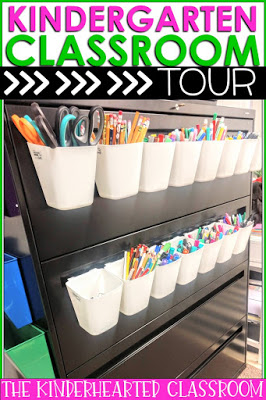
I found the hanging folders and the containers on Amazon.
This year, after struggling with students losing their supplies or not taking care of their supplies I am trying my hand at community supplies. Each student is assigned a number that is used for many different things, one being supplies. They have a numbered bin where they keep their pencil box and crayons. All other supplies, we share. It’s an opportunity to learn about respecting things that belong to us and others. I know some teachers have differing opinions about this, but for my kiddos it works well.
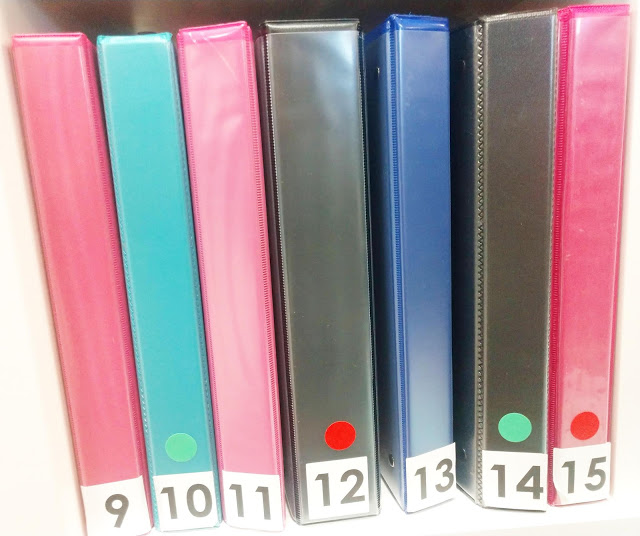
Remember those numbers, I use them on their binders too! This allows the students to identify their binder quickly and easily. The colored dot on their binder relates to their small group and allows me to quickly see if everyone is in the right place at the right time.
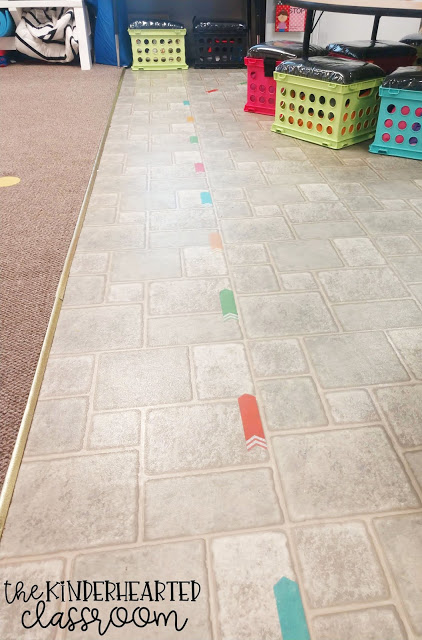
OK – one more use for those numbers. Students line up in number order and I use these arrows on the floor for our line.
No more running to be first in line, or fighting over who gets to be the caboose. Training my students to line up this way is so helpful when we are out of the classroom, i.e. on a field trip. It makes it super easy to make sure we have everyone!
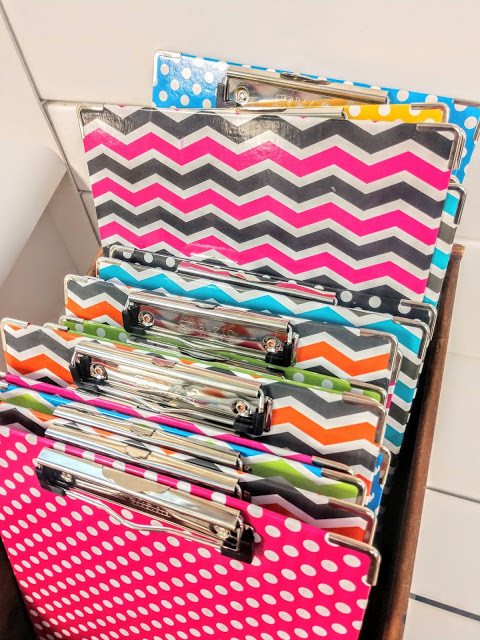
We use clipboards almost everyday in class! With our flexible seating options, students often work in many different areas of the room. I like to see my students up, moving and engaged in our environment. After all, learning to use the tools in the room helps them learn independently and take ownership in the learning process. Sometimes they need a hard writing surface and clipboards come in very handy. But man can they be a pain to store.
This storage bin is the perfect way to keep them stored upright. They are easy to grab and use, and easy to put away too!
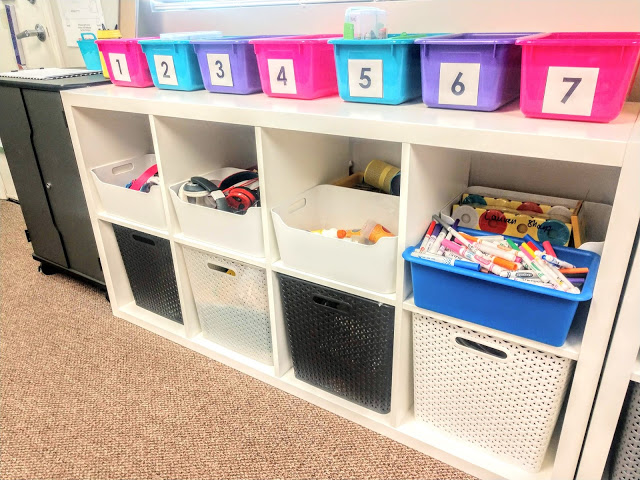
I have one last IKEA favorite in my room that I use for organization.
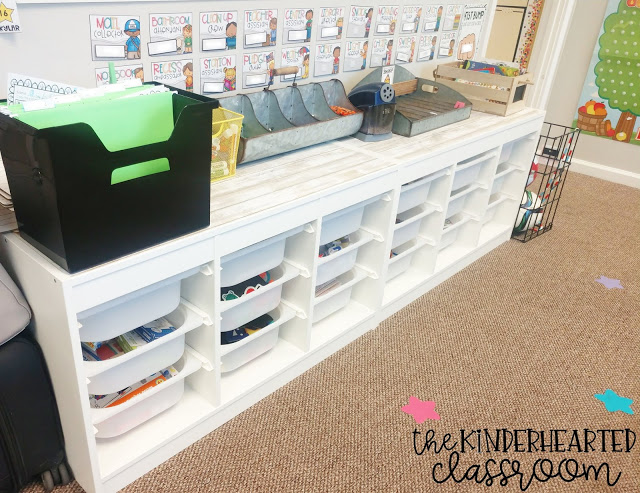
This KALLAX shelf is perfect for storing supplies. We use it for community supplies, those hard to store headphones, and so much more. Having a place for everything just helps to keep it all organized free from clutter. This allows for us to move around more freely and focus on the learning!
A little personal touch . . .
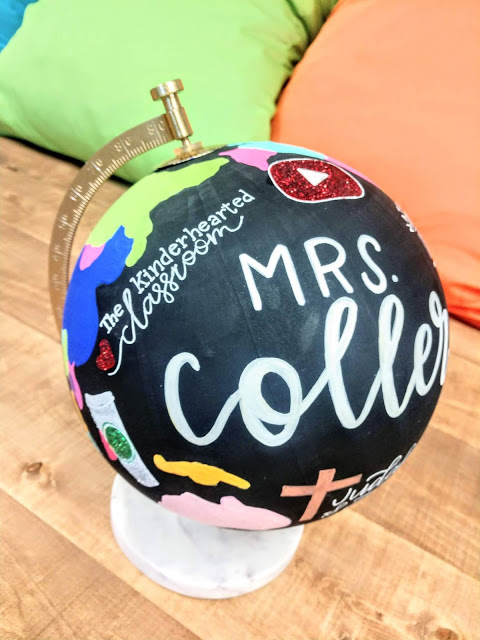
This last year was a big year for my family. I wanted to have an item that represented our year – a memento of sorts – and this is just perfect. When I ran across Cory Harris’ store on Etsy I knew I found the perfect item. I sent her a list of events in our family’s life and she did the rest. I really, really love it!
You made it!
