We love sharing our favorite resources, books, classroom supplies and teacher stuff with you. When we do, we may earn money or products from the companies mentioned in this post. This does not affect our choices in what to recommend. Rest assured, we only recommend our favorite products to you! You can find our full advertising policy on the Partner With Elizabeth page.
The first month of kindergarten can be daunting. So much to do, so much to teach, so much to learn. But we’ve got to start small and take baby steps. So along with teaching classroom procedures, teaching names is one of my primary goals during the first month of school.
Names are super important. Your name is something special and personal. It’s you identity – they way you recognize yourself and others recognize you. So, teaching my students how to read and write their name at the beginning of the school year is one of our main learning objectives.
Name Recognition
The first step in learning your name is name recognition. Auditory name recognition happens at a very early age. Infants and toddlers learn to recognize the sound of their name and can respond to it. So chances are, most, if not all of your students, will already be able to recognize the sound of their name.
Visual recognition may be a different story. Children first learn to recognize things visually by thinking of things as pictures. This is actually great news for us as pre-k and kindergarten teachers because that means that students can learn to recognize their name without any knowledge of letter names or sounds.
For students that already know their alphabet, identifying the letters by name is a great way to learn name recognition. But, for students that don’t know the alphabet this can be not only confusing but frustrating too. Instead, look at the names like a picture. Here’s a few visual activities that will help with name recognition:
- Give students the opportunity to describe what their name looks like to them
- Let students turn their name into a picture using the lines and shapes in their name
- Go on a name scavenger hunt around the classroom or school
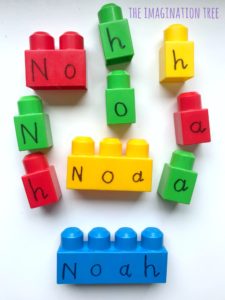
- Build names using anything and everything (blocks, play dough, wikki stix, magnetic letters, etc.)
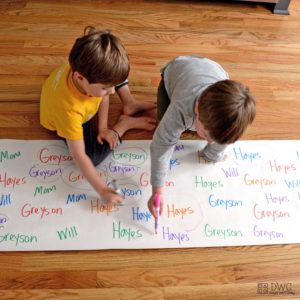
- Create a giant name word search like Beth of Days With Grey did
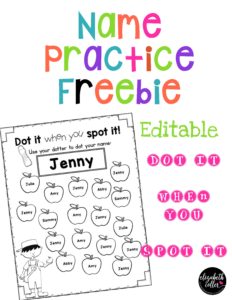
- Dot It When You Spot It Freebie (you’ll find it at the bottom of this post)
As students are learning to recognize their own names, they will also begin recognizing the names of their classmates. Not only does this help develop their reading foundation, but it builds classroom community too. I have put together this Student of the Day resource that is filled with fun activities for learning about each other. Depending on your class size, you should be able to give each student a special day to focus on them.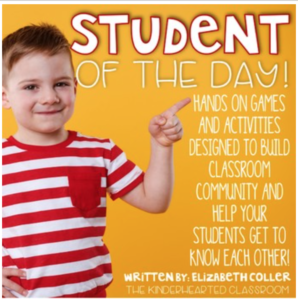
Name Writing
The next step in teaching names is teaching students how to write their name. This is also a great way to work on letter names and letter formation. Studies have shown that whatever the topic, people tend learn faster when they have a connection with the topic. So teaching the letters that are in a student’s name is a wonderful way to begin.
Practice, practice, practice! That is the key to learning to write your name. But name writing practice doesn’t have to be boring and mundane. There are many ways for students to practice writing their name. Here’s some examples:
- Rainbow Write using a different color for each letter
- Rainbow Write by writing the name multiple times, each time over the last but in a different color
- Build their name with a simple puzzle or blocks (see picture below)
- Write it in sidewalk chalk during recess
- Stamp it with letter stamps
- Paint it with watercolors or finger-paints
- Write it in shaving cream, sand, or tracing light sandpaper
With all these options (and so many more) your students will never realize they are getting in all that practice that they need.
Ready to Go Name Practice
I have put together some of my favorite name practice activities into this Editable Name Practice Resource. What makes this so easy to use is that you type your class list one time – Yep – ONE TIME – and multiple name practice activities are automatically made for you. Just type once, print and go! It’s that easy.
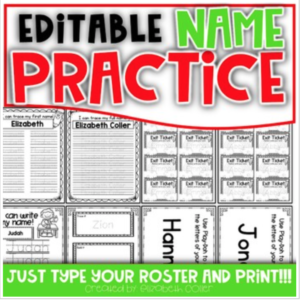
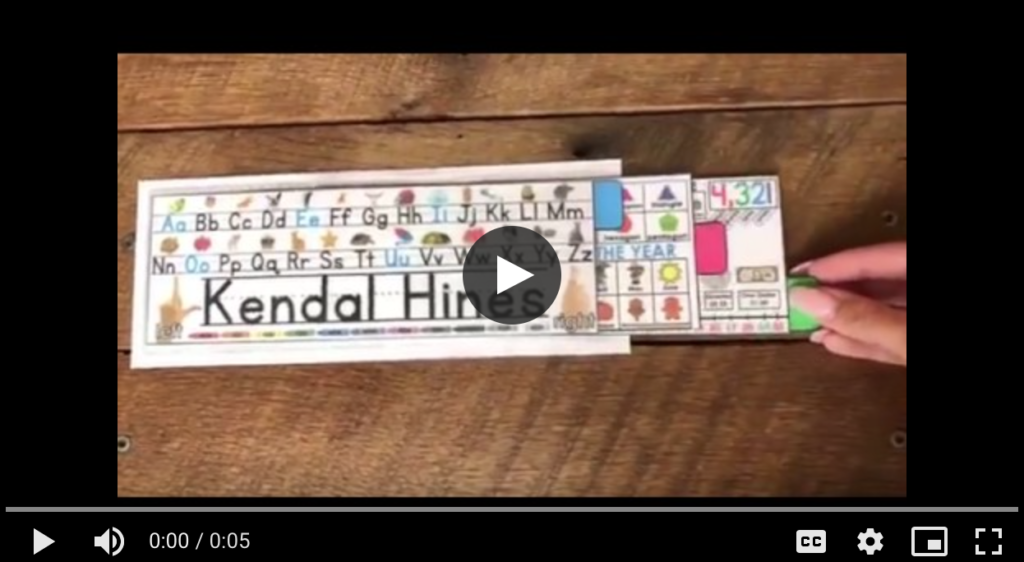
Here’s a short video that shows you everything inside this resource!
Books to Teach Names
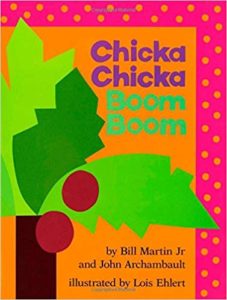
I also love using books when I teach names. A popular book, not just in my classroom, is the classic Chicka Chicka Boom Boom.
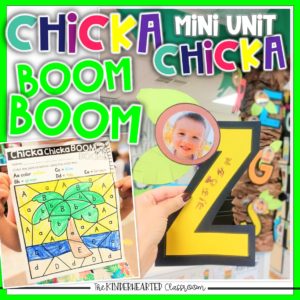
The students LOVE the silliness of the book and it’s title. It is a great way to teach letters and names. We do an entire week using this book and these activities:
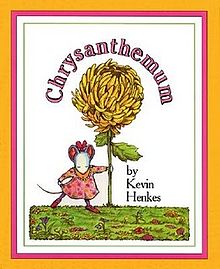
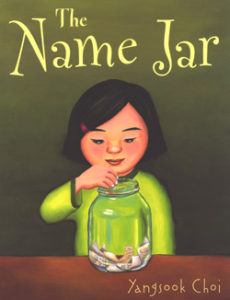
In addition to Chicka Chicka Boom Boom, here’s a few more books that are absolutely wonderful to read and discuss when you are teaching names. Not only are they great literature examples but they also help students understand the importance of names.
Name Tools for the Students
The last big thing I use to help my students learn to recognize and write their name is something I call a classroom tool. I teach my class that our room is filled with tools to help them learn. Their nameplate on their desk is one of these valuable learning tools.
Whether a simple sentence strip with their name or something more, the student’s name on their desk is for more than just saving their space. Having their name available to them, in written form, allows them to look for a modeled example any time they write their name. It is a great tool for them as they are learning to write their name.
A teacher friend of mine also differentiates this tool for her students. The students start out with only their first name written on their desk. However, after they have shown mastery of their first name, she adds their last name. This keeps the students from being distracted by too much information, but also gives them something to work for too. When a student masters their first and last name, she adds their middle name too.
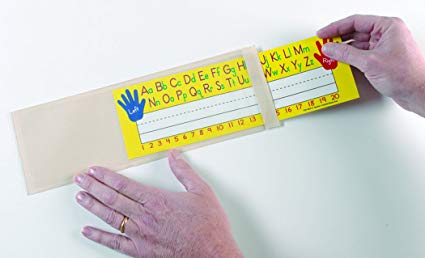
In my classroom, the nameplate is for more than just names. We use it as a tool for many other learning objectives too! Here’s what it looks like:
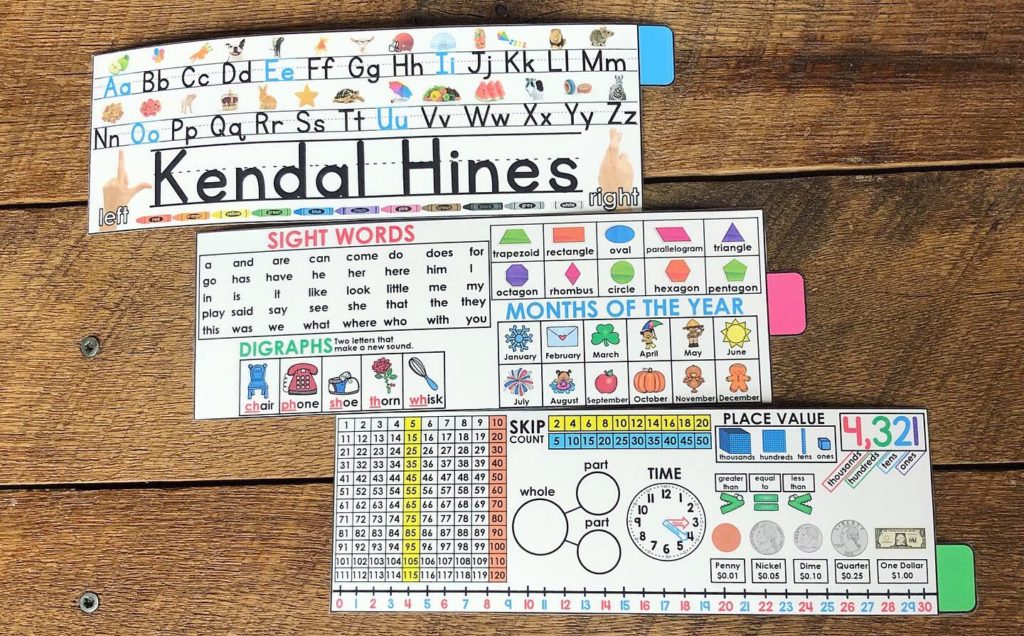
These name plates have 3 layers and provide lots of reference tools for the students. The layers simply stack onto of each other and get inserted into a plastic desk sleeve. Students can then use the tabs to pull out the layers and see all of the amazing learning tools. Not only is this helpful, but it saves space too! The students love using them and feel so independent when working.
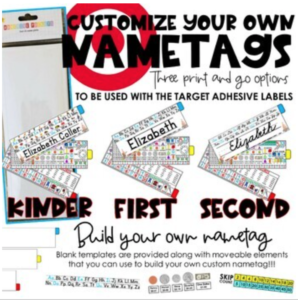
You can find these editable nameplates here:
These were designed to use in the plastic name tag holders that I found in the Target Dollar Spot, but you can use these too – you just need to trim the length so the students can reach the tabs on the sliders.
Names are Fun
I hope that you have found some fun and new ways to help your students learn to read and write their names. I think teaching names is so much fun. And the best part – the joy your students have when they can read and write their own name. So why not jump right in and give it a try. I have put together this editable Dot It When You Spot It freebie that will help your students with name recognition. When you click the picture below it will automatically download for you.
